Google Assistant —> IFTTT —> Adafruit IO —> python —> Volumio
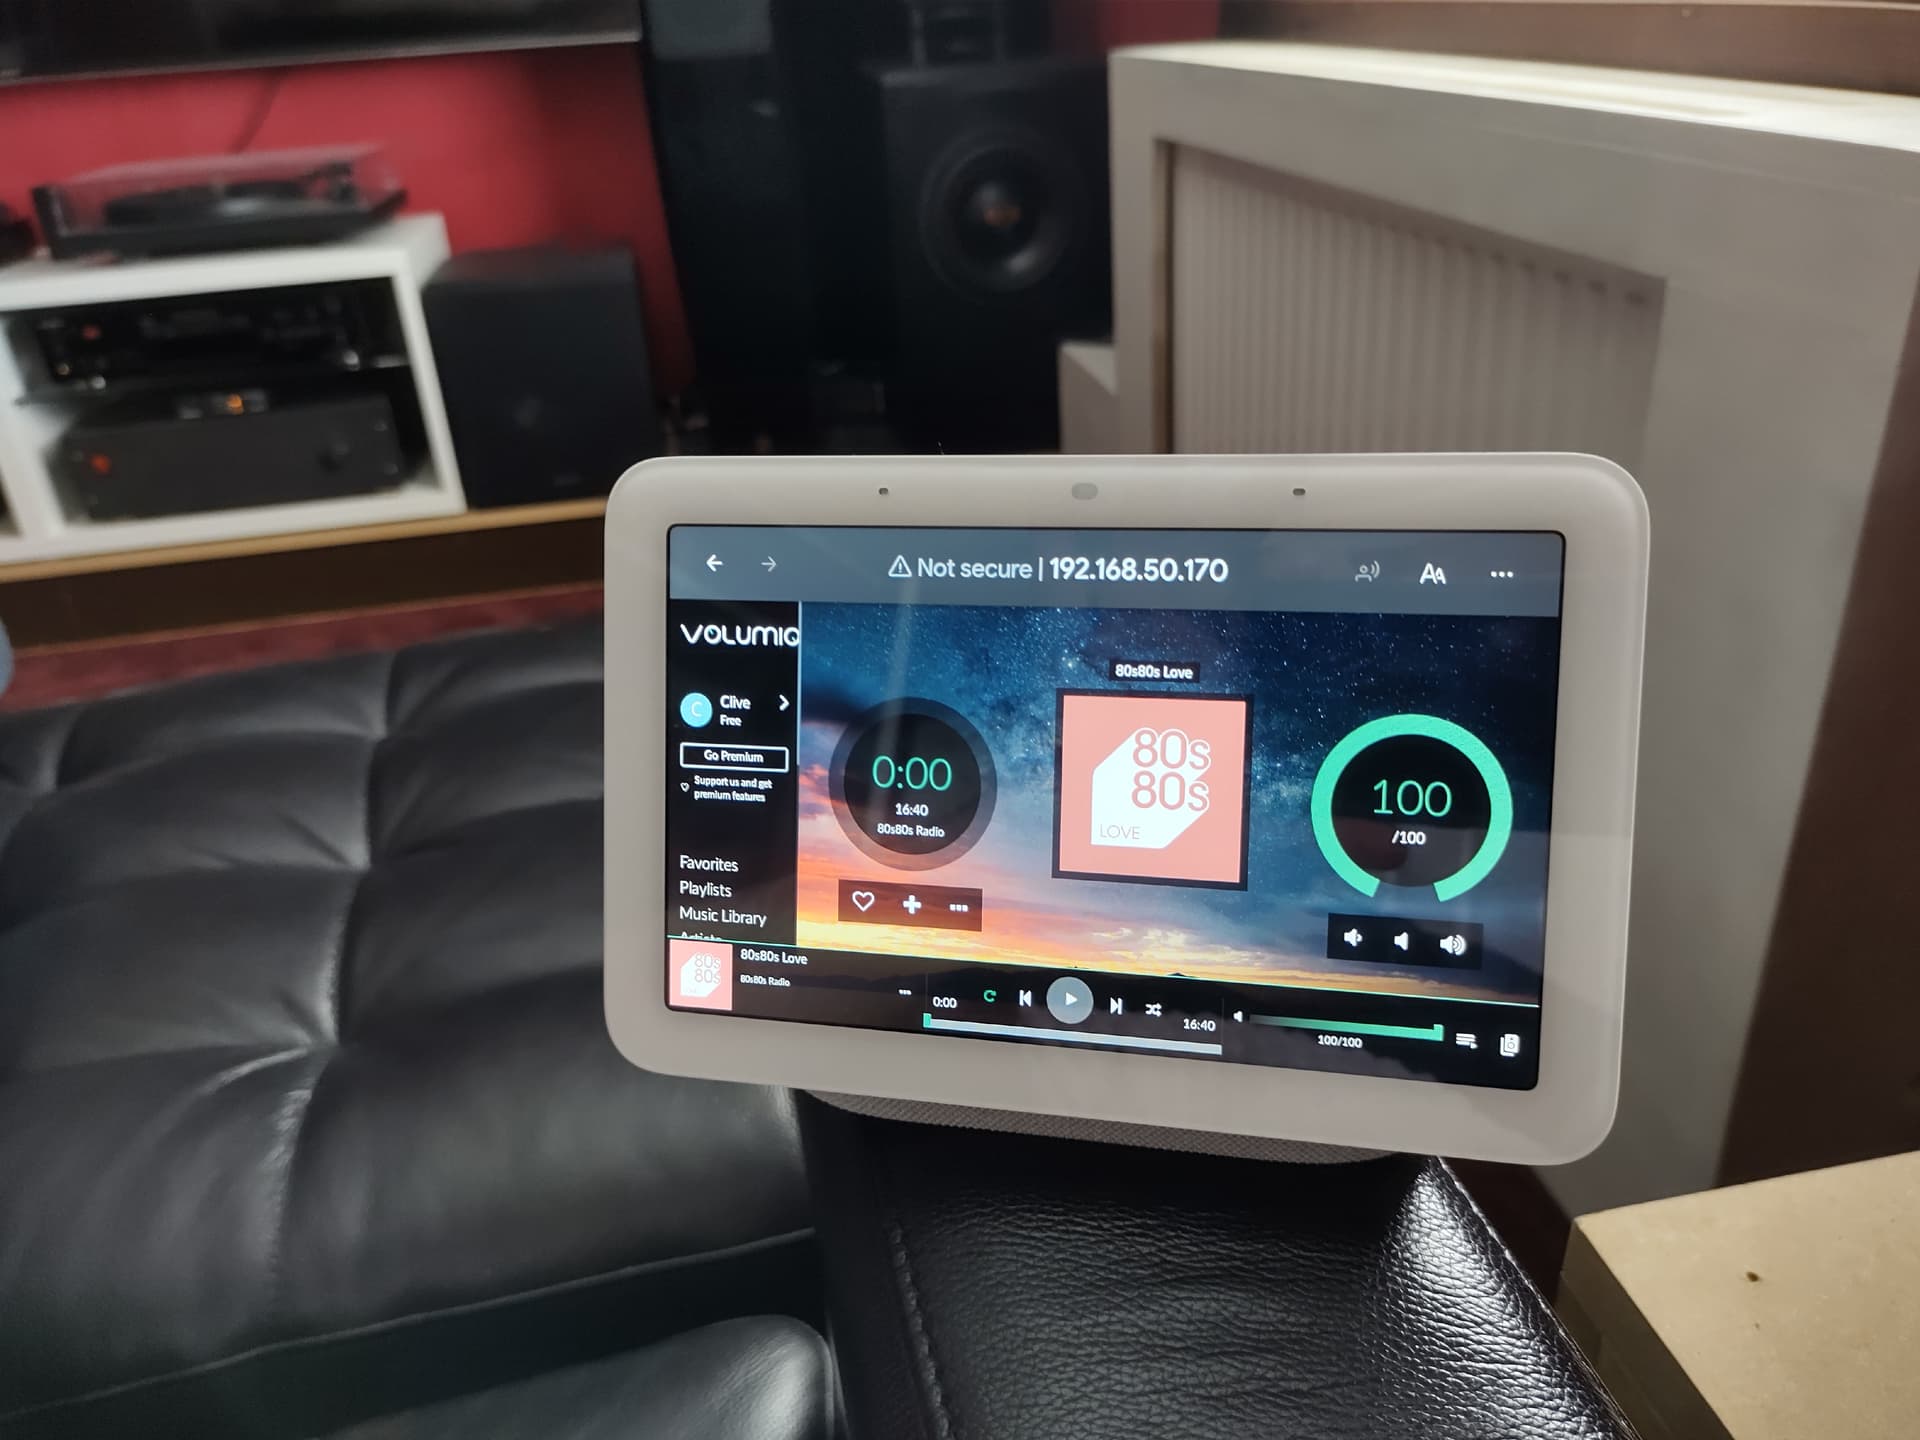
So I wanted a simple way of controlling Volumio with Google Assistant, I already have a Chromecast so this concept is on trial here.
I did research all evening yesterday and found a solutions that was really simple.
It started with watching this video, it’s a good video and he explains everything well so if I miss something you can check it out. However, I thought that the step with the Arduino and GPIO seemed unnecessary, there should be a way to get the webhooks directly to Volumio.
My script is copied from Adafruits example and then just edited to give the result I wanted.
For this to work you need:
IFTTT account: ifttt.com
Adafruit account: io.adafruit.com
When logged in at Adafruit IO, go to Feeds, click Action, “Create new Feed”. Call it whatever you want, I call mine “Volumio”.
Click Services, then IFTTT and connect let it connect your Adafruit account to your IFTTT account.
Click AIO Key on the right side, remember that information, it will be needed later in our python script.
Switch over to IFTTT and create a new applet, the UI has changed since the video above was made but what I do now is click my icon up in the right corner and choose Create.
Click “This” in If This then That. In the search form type Google Assistant and click it. Choose “Say a phrase with a text ingredient”.
In “What do you want to say” you need to choose a specific keyword, I choose “Stereo”, in the video he chooses “Speaker”. The keyword will be used like this for instance, Hey Google, stereo ON.
Write the keyword followed by a dollar sign, like “Stereo $” or “Speaker $”, without the quotes.
The following two textboxes are optional.
The last box is also optional but I choose “$ sent to Volumio”, that way if I say “Hey Google, stereo on” she will respond “On sent to Volumio” so I know she got the right command.
Click “Create trigger”.
Click “That” in If Then That.
Search for and choose Adafruit, click “Send data to Adafruit IO”.
If you have connected your accounts and made a Feed in Adafruit IO as described above you should see your feed under Feed name, so select it, Volumio in my case.
Then click “Add ingredient”, then TextField, then Create action.
On the next page I like to deselect “Receive notification when this Applet runs”, do as you want.
Click Finish.
The next step I did on my Domoticz raspberry pi, you could do it on whatever device can run python in your network, the Volumio device as well.
The following instructions will assume you are on a Raspberry Pi.
Follow the instructions here adafruit-io-python-client.readt … index.html
First, update apt with “sudo apt update”.
I then used “sudo apt install python-pip” and then “pip install adafruit-io” witch uses python 2.7 as that is what worked for me.
“cd ~” to get to your home folder.
When that is done you can use whatever text editor you like, I like nano.
So I type “nano volumio.py” which creates an empty document named “volumio.py”, and then paste the following code:
# Example of using the MQTT client class to subscribe to a feed and print out
# any changes made to the feed.  Edit the variables below to configure the key,
# username, and feed to subscribe to for changes.

# Import standard python modules.
import sys
import requests

# Import Adafruit IO MQTT client.
from Adafruit_IO import MQTTClient

# Set to your Adafruit IO key.
# Remember, your key is a secret,
# so make sure not to publish it when you publish this code!
ADAFRUIT_IO_KEY = 'YOUR_AIO_KEY'

# Set to your Adafruit IO username.
# (go to https://accounts.adafruit.com to find your username)
ADAFRUIT_IO_USERNAME = 'YOUR_AIO_USERNAME'

# Set to the ID of the feed to subscribe to for updates.
FEED_ID = 'Volumio'

# Ip adress of Volumio
VOLUMIO_IP = 'http://YOUR.IP.ADRESS.HERE'
# Could also be VOLUMIO_IP = 'volumio.local'
# Could also be VOLUMIO_IP = 'localhost:3000' if this script is on the Volumio machine

# Define callback functions which will be called when certain events happen.
def connected(client):
    # Connected function will be called when the client is connected to Adafruit IO.
    # This is a good place to subscribe to feed changes.  The client parameter
    # passed to this function is the Adafruit IO MQTT client so you can make
    # calls against it easily.
    print('Connected to Adafruit IO!  Listening for {0} changes...'.format(FEED_ID))
    # Subscribe to changes on a feed named DemoFeed.
    client.subscribe(FEED_ID)

def disconnected(client):
    # Disconnected function will be called when the client disconnects.
    print('Disconnected from Adafruit IO!')
    sys.exit(1)

def message(client, feed_id, payload):
    # Message function will be called when a subscribed feed has a new value.
    # The feed_id parameter identifies the feed, and the payload parameter has
    # the new value.
    print('Feed {0} received new value: {1}'.format(feed_id, payload))
    if payload == "stop":
        webhook(VOLUMIO_IP+'/api/v1/commands/?cmd=stop')
    if payload == "play":
        webhook(VOLUMIO_IP+'/api/v1/commands/?cmd=play')
    if payload == "next":
        webhook(VOLUMIO_IP+'/api/v1/commands/?cmd=next')
    if payload == "previous":
        webhook(VOLUMIO_IP+'/api/v1/commands/?cmd=prev')


def webhook(url):
    try:
        print (url)
        r = requests.get(url)
        page = r.content
        print (page)
    except  requests.exceptions.HTTPError as errh:
        print ("Http Error:",errh)
    except requests.exceptions.ConnectionError as errc:
        print ("Error Connecting:",errc)
    except requests.exceptions.Timeout as errt:
        print ("Timeout Error:",errt)
    except requests.exceptions.RequestException as err:
        print ("OOps: Something Else",err)


# Create an MQTT client instance.
client = MQTTClient(ADAFRUIT_IO_USERNAME, ADAFRUIT_IO_KEY)

# Setup the callback functions defined above.
client.on_connect    = connected
client.on_disconnect = disconnected
client.on_message    = message

# Connect to the Adafruit IO server.
client.connect()

# Start a message loop that blocks forever waiting for MQTT messages to be
# received.  Note there are other options for running the event loop like doing
# so in a background thread--see the mqtt_client.py example to learn more.
client.loop_blocking()
You need to change a few things here.
YOUR_AIO_USERNAME should be changed to your AIO Username from Adafruit IO.
YOUR_AIO_KEY should be changed to your AIO Key from Adafruit IO.
Also if you named your feed something other than Volumio you need to change “FEED_ID = ‘Volumio’” as well.
192.168.1.19
One thing about python is that the indents are very important, they need to be the same all over the script or you’ll get errors. In this example it is four spaces, so make sure it stays like that when you edit.
The following has four spaces on the first row and eight spaces on the second row.
    except requests.exceptions.RequestException as err:
        print ("OOps: Something Else",err)
Save the file, in nano that is done by CTRL+X then Y (for yes, N for no) and then ENTER to save with the same filename.
You run the code with “python3 volumio.py” or “python volumio.py” depending on what you installed earlier, python 2.7 is just python and python 3 i python3.
The code will loop until stop it with CTRL+C, but you can run it like this when testing.
To make the code run by itself on reboot write “crontab -e” and paste the following at the bottom:
@reboot python3 /home/pi/volumio.py &Again, change to just python if you are not running python 3,
This script is very simple and so far I have only added basic stuff like start and stop, you can add stuff yourself and get the commands from Volumios REST API here -> volumio.github.io/docs/API/REST_API.html
This project on github:
github.com/alexbergsland/Google … to_Volumio